Spin me right round—A jQuery Reel tutorial
For complex 3D objects, photographs don’t always tell the whole story. One method to produce a more complete representation has been growing in popularity along with the rise of online shopping: turntable photography. This process starts with the placement of the photo subject on a rotating surface that can be turned to specific angles. An image is captured every X degrees, and if X small enough, these photos can be played back in sequence to produce a relatively smooth animation. Online stores selling everything from cell phones to luxury cars use photo turntables to showcase their products from multiple angles and improve the online shopping experience.
Many commercial and open-source libraries are available to combine turntable photo sets into interactive web elements. This began in the early days of the web with Quicktime and Flash solutions, but the current range of computer and mobile browsers has encouraged the development of cross-platform libraries using JavaScript and CSS. For our site, we choose the jQuery Reel plugin because it’s free and customizable. Reel works in all modern (and not so modern) PC, Mac, and mobile browsers.
In this post, we will walk through how to make the interactive rotations that you can find scattered about our site, including one on the front page. Unlike the examples on the Reel homepage, our turntable images are rendered from digital 3D models (no physical camera or object). This tutorial assumes that you know how to animate and render a rotating 3D object.
Step 1: Render the rotation as an image stack
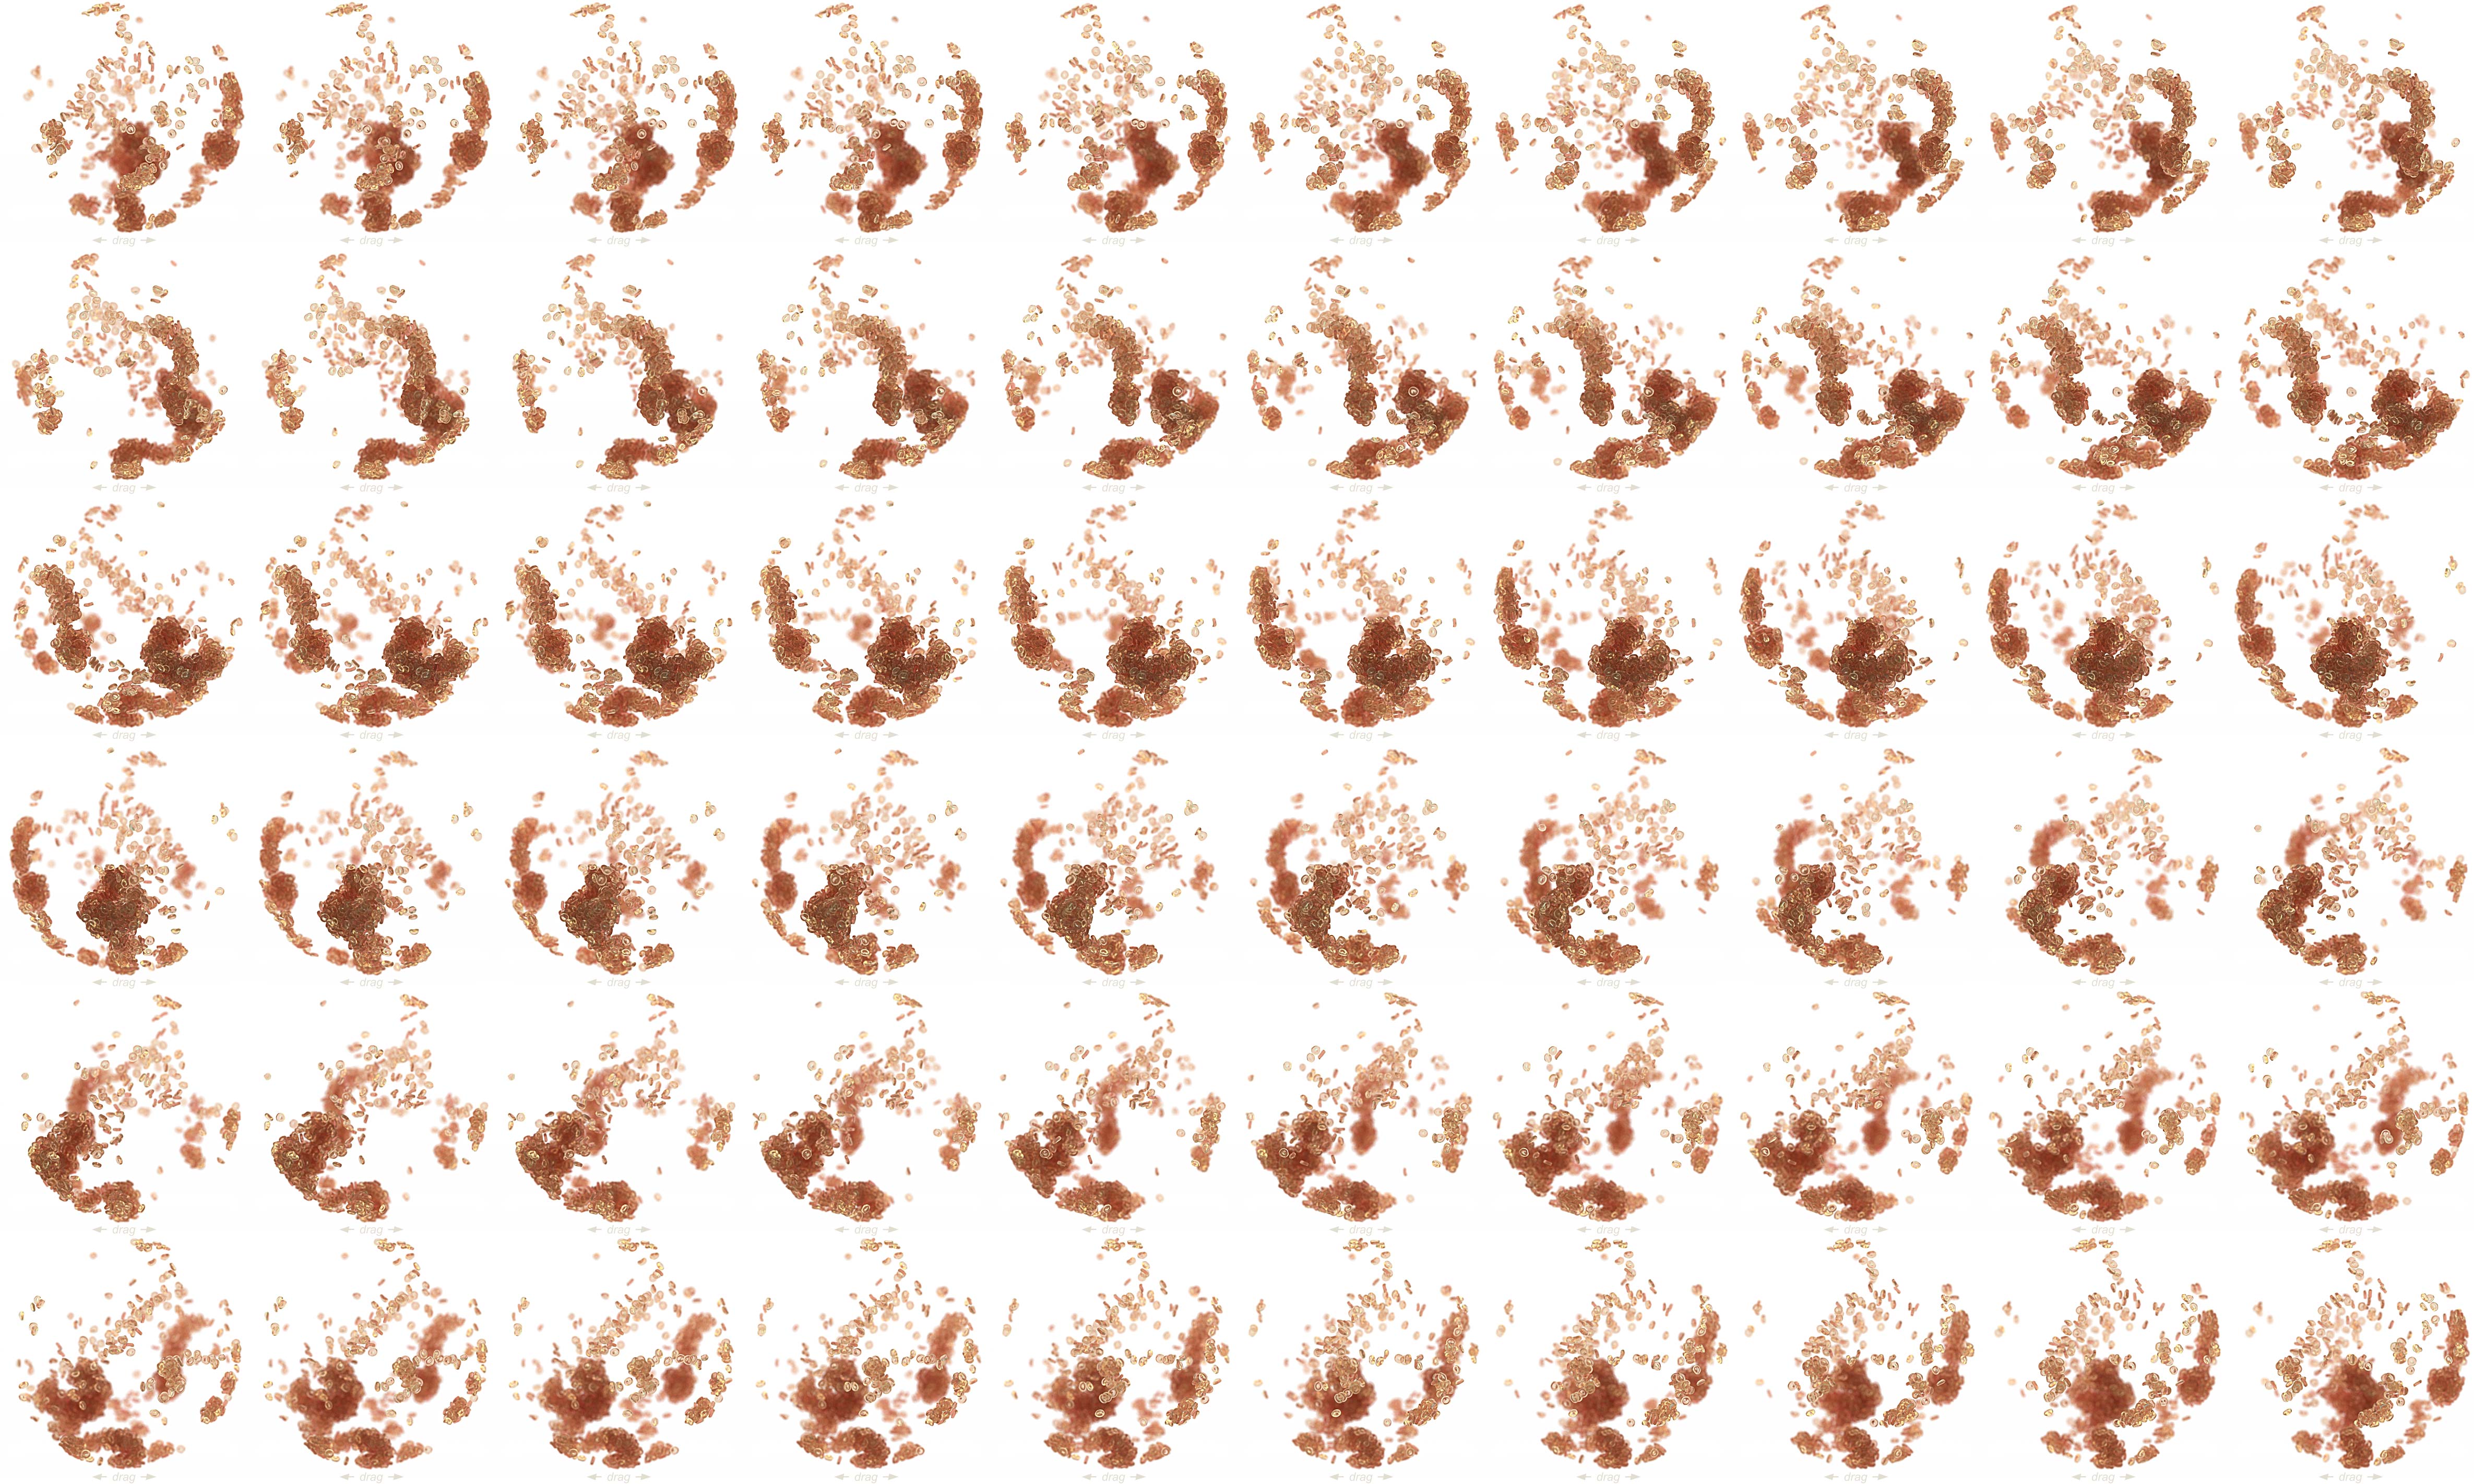
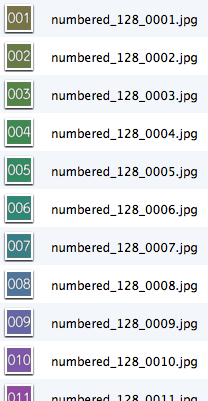 Start by rendering an animation of an object making a full turn about the vertical axis as a stack of images. We’ve found that 60 images is a good number to avoid coarse jumps as the user drags. A higher number of images will provide a smoother experience, but may require you to reduce the image size to keep the download size reasonable. The plugin also allows multiple axis rotation (I.e., both left/right and up/down tilt), but I prefer to limit the rotation to the left/right axis to avoid trading-off on image size and the number of rotation stops. Remember to not render the first and last frame at the same angle (i.e., 0° and 360°). This is a common mistake that will cause a stutter in the animation because that frame will be doubled.
Step 2: Combine the frames into an image grid
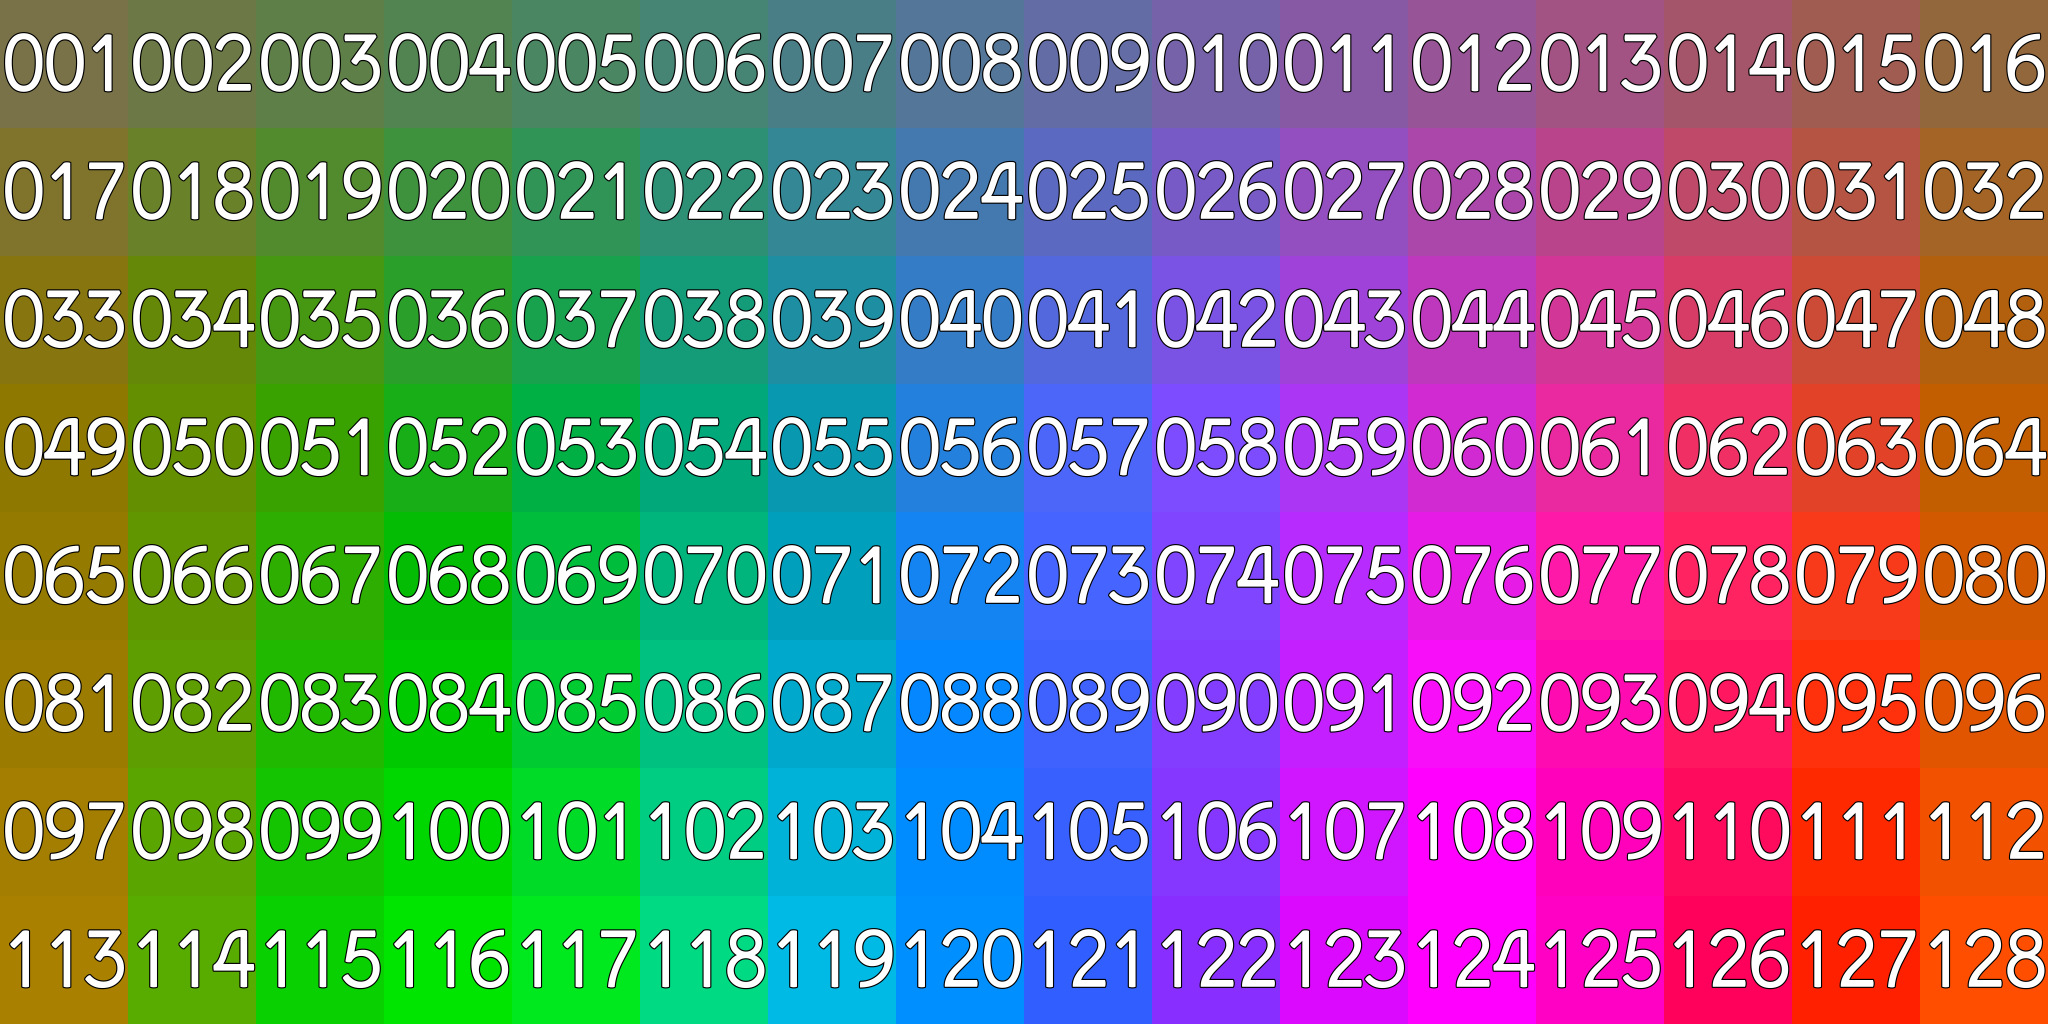
The Reel plugin can either use an image sequence or one large image grid. For small images, the plugin works fine with a sequence, but I’ve found that larger images can cause it to hiccup while moving through the frames. An image grid avoids this problem. You may call it a “sprite sheet”, “texture atlas”, or “quilt”, but it’s essentially a large image with a grid of smaller image tiles arranged in order. In terms of page loading, it’s more efficient to download one large image than to make multiple requests for smaller files.
The only downside to using an image grid is that current iOS devices have a size limit of 5 megapixels for JPEG images and if you exceed that, the image will be automatically down-sampled. This results in blurriness and can throw off the grid alignment, making the image jump around as you move through the frames. Be aware of this limit and make sure your image grid is < 5MP or configure your server to send a smaller image for mobile users as we have done on this page using a WordPress plugin.
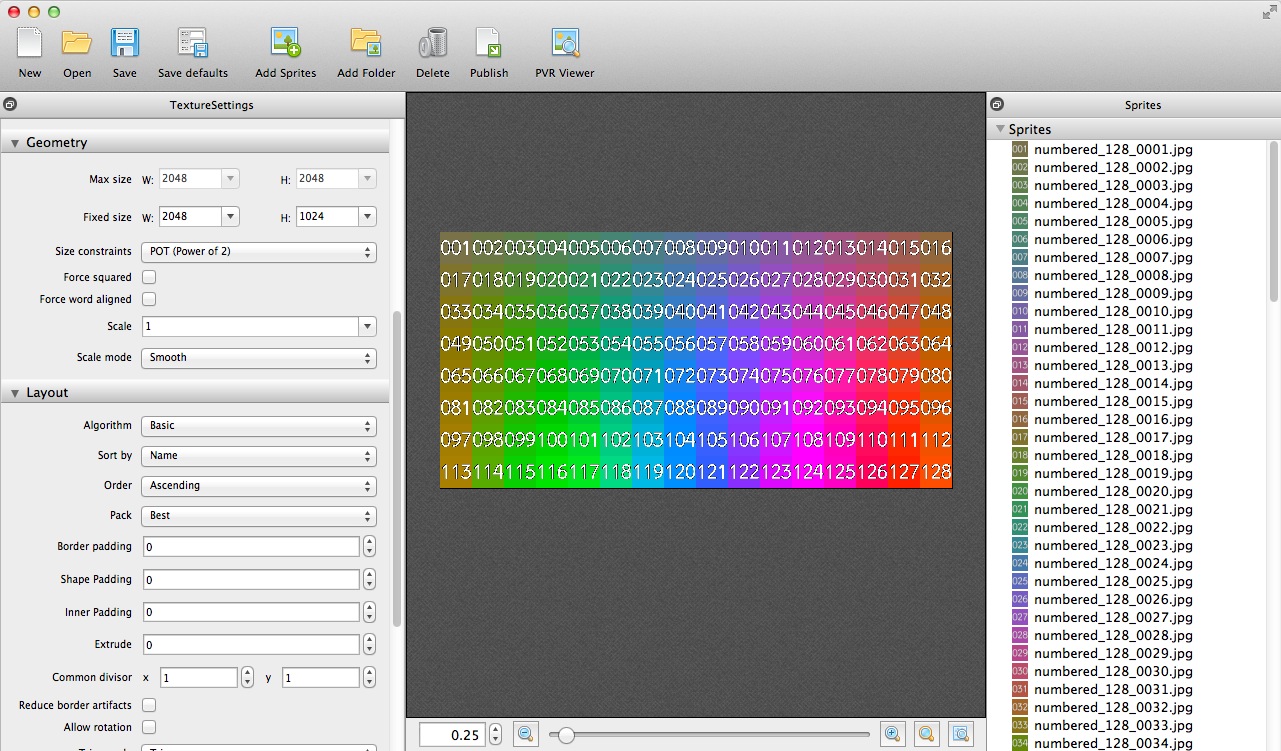
I recommend against trying to assemble the image grid manually as you’re likely to misalign some of the tiles and cause jittering in the rotation. There are a few software options to automate this process such as Texture Packer, which has a free version that works well for this purpose. See the image below for the settings used to create a 16×8 grid of images with Texture Packer. Note how the first image in the rotation should be in the top-left of the image and the index increases to the right, eventually wrapping to the next line.
Step 3: Embed the Reel on your website
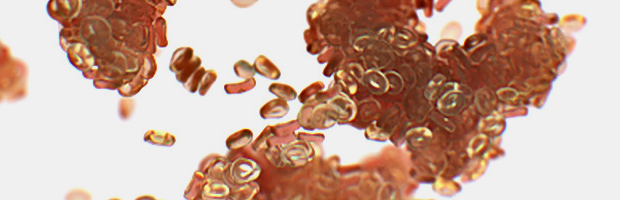
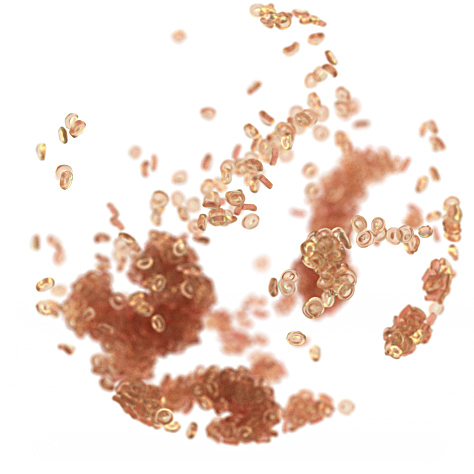
Once you have the sprite sheet assembled, it’s simple to embed the interactive turntable on a web page. Follow the instructions on this page to link the Reel JavaScript then add a few attributes to an image tag. The code to embed the red blood cell reel shown above is the following:
<img class="reel" src="https://indicated.com/reels/rbc/rbc.jpg" width="474" height="474" data-image="https://indicated.com/reels/rbc/rbc-reel.jpg" data-cw="true" data-frames="60" data-footage="10" data-throwable="1.2" data-responsive="true" data-speed="0.2" data-brake="0.2" />
The extra attributes in the image tag configure the plugin as follows:
src—This is the path to the thumbnail image that will display while the reel is loading. Typically the first image in the sequence.
data-image—The path to the image grid.
data-cw—Determines whether the rotation is set clockwise or counterclockwise. If dragging the object feels backwards, invert this flag.
data-frames—Total number of images in the rotation sequence.
data-footage—Number of images per row of the image grid.
data-throwable—Adding this parameter gives the rotation some inertia. This makes interaction feel more natural.
data-responsive—Setting this to true makes the Reel object fill and scale with the size of its container. Helpful for responsive layouts targeting mobile devices.
data-speed—This value causes the reel to turn with constant velocity without user interaction. I like to use this to cue the user that the reel not just a still image.
data-brake—Slows the rotation after the user “throws” it. Adjust this with the data-throwable parameter to find a natural behavior.
When the page loads, the image tag above will be replaced with the interactive reel. That concludes our tutorial… best of luck with your turntabling.
Contact us today to learn how our custom interactive 3D content can bring your science to life.
5 Comments
Pingback: Spin me right round—A jQuery Reel tutoria... March 6, 2014
[…] Engagement, distributed […]
Pingback: Bilder einfach mit einem jQuery-Plugin um 360 Grad drehen ← dreht sich November 28, 2014
[…] die wir für die hier laufende Animation verwendet haben. Für alles weitere gibt es ein sehr gutes englischsprachiges Tutorial zu Reel. Auch der Bereich Syntax auf der Reel-Homepage hilft bei Fragen […]
Pingback: How to make the globe spin – Weekly blog April 15, 2016
[…] Photoshop and make it spins in my website. I had not idea how to do that. I have finally found this website –jQuery Reel plugin – which teach exactly what I am looking for. This is an open […]